JeffPo's Stereograph Page
Last update: 03/29/19
3D
Stereograph Viewing
I’ve always been fascinated with the aspect of three
dimensional pictures. I use to sit
and stare at the images on my Viewmaster viewer for hours.
The 3D effect was just amazing to me.
While 3D viewing on Viewmasters and such is a now mostly a childhood
pastime, it was an adult pleasure years ago.
There use to be a large market for stereoscopes and their associated
picture cards. Images included the
mundane recording of every day life, to the grandeur of big cities and natural
scenes across
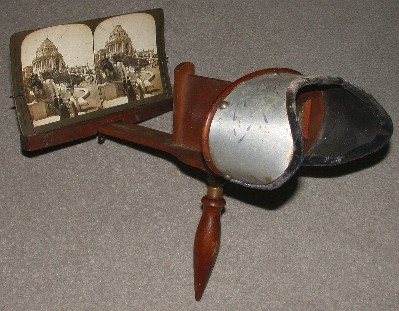
Here’s an image of an old, hand held stereoscope:
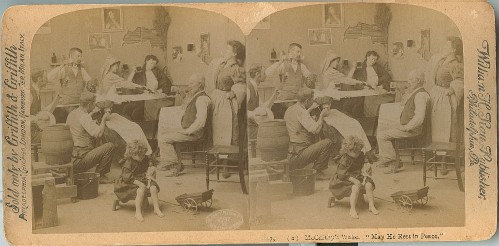
This is a typical stereograph card that would be used in a stereoscope. The cards are also referred to as stereoviews, stereo cards, and stereo pairs. They were created by taking two images, one for the left eye, and one for the right eye.
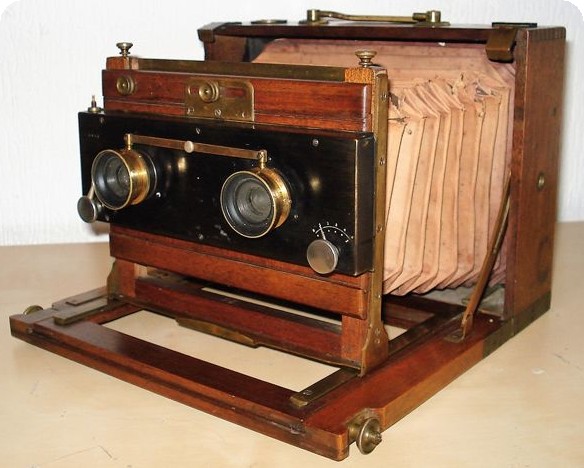
Here is an example of an antique stereograph camera. The cameras/lenses were separated by a few inches, representing the distance between the human eyes (though a bit larger to get a more pronounced 3D effect). That’s what gives us binocular vision and that’s what makes these images appear 3D.
After the acquisition of an antique stereoscope viewer and a few stereograph cards, I decided to try my hand at making my own stereograph picture cards. The picture cards consist of two images, one for the left eye and one for the right. The distance between where the cameras took the images is what makes the image 3D. Given I only have a normal, single camera, my technique is take an image for the left eye, move the camera right a couple of so inches, then take an image for the right eye. I crop and shape these to the same size as an antique stereograph card, and mount them on similarly sized cardboard.
To really accentuate the 3D effect, you need to vary the distance between where the left and right images are taken. Objects that are close, or only a few feet away, can have the distance of between 2 or 3 inches. That’s what your eyes normally are. But for objects that are much further way, the distance between where the left and right images are taken needs to be much greater if you want the 3D effect to be pronounced. I’m limited to having the distance be only about 3 inches because of the equipment I use, therefore the 3D effect is not as pronounced with far away images verses close up images.
The actual images on the cards are: 3” x 3.25” (width x height).
When deciding on an object to photograph, select and center the subject carefully. My current camera (Nikon 995) takes images that are basically 6” x 4”, which is what my local photo printer (Walmart) does. This works great for normal album pictures. But given I’m going to crop and resize these down to 3” x 3.25” (basically a square), I have to be careful that I don’t lose part of the subject I’m trying to photograph.
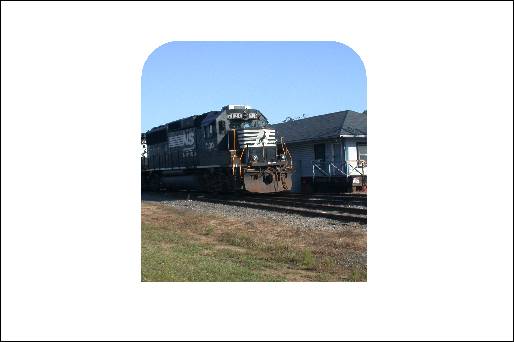
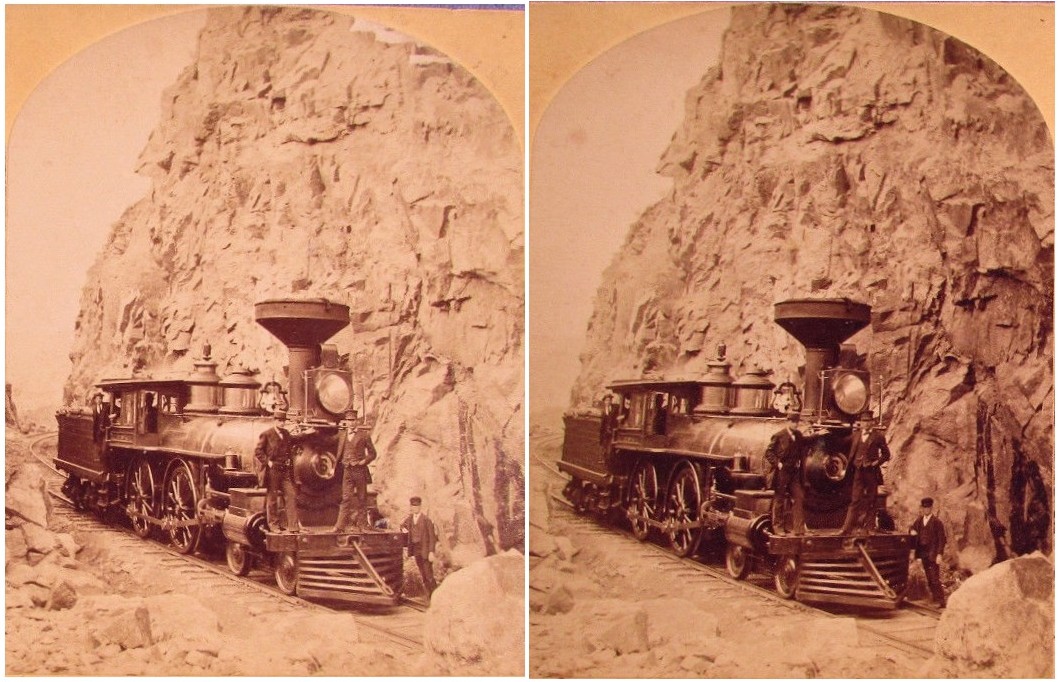
Consider this 6” x 4” image of a couple of railroad locomotives:
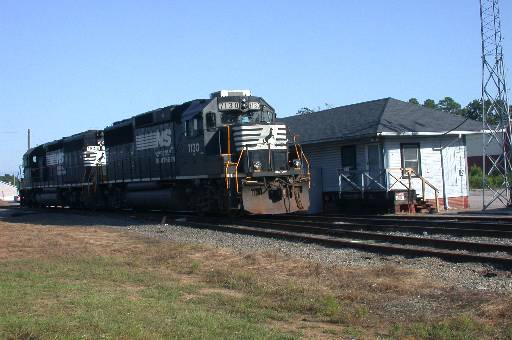
After it is cropped and resized to 3” x 3.25”, it looks like this:
When taking a rectangular image and turning it into a square (which is the format used by antique stereoscopes), you’re going to have to give up something, either in the horizontal direction or the vertical direction.
I’m currently using Microsoft Photo Editor to edit my images. It’s a simple program that use to ship with Microsoft Office 97. Here’s the steps I take to resize and shape my images to fit on a 7” x 3.5” stereograph card (these are mainly just documentation for me, but feel free to try them yourself if you want).
Step 1:
The original image from my camera is 6.82” x 4.53” (width x height). Resize the height to 3.25”. The width will automatically adjust so there is no distortion. For some reason, MS Photo Editor will set the actual height to 3.22”. You now have an image that is 4.84” x 3.22”.
Crop the left margin to .92”, and the right margin to 3.92”, to make the image 3” wide. With the way MS Photo Editor works, this is effectively removing .92” from each side of the image. The resulting image’s actual size will be 3.00” x 3.22” (width x height). In the same dialog, set the corners to crop at .5” (EDIT: might be 2 instead of .5) (assuming inches, though it doesn’t give a unit) with the shape of round for both the top corners. This gives it roughly the shape used in antique stereograph cards.
The image is now in the proper shape. But given my Walmart photo center doesn’t print this size, I need to have it in a 6” x 4” format. Create a blank image that is 6” x 4” in size, and 300 dpi in resolution (the resolution of my images). Paste the picture image on this blank image, roughly in the middle. I will also put a label on the image as to whether it’s the left or the right image. This is the image I end up with:
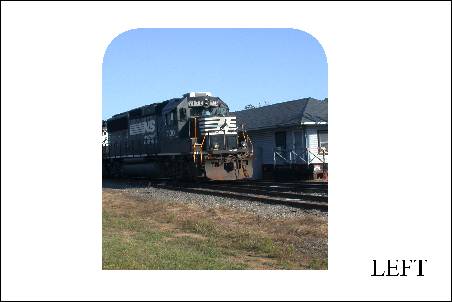
Repeat steps 1-3 with the other image. I wind up with two images. One taken for the left eye, labeled LEFT. And one taken for the right eye, labeled RIGHT. I send these two off to the Walmart photo center to be printed as 6” x 4” photos.
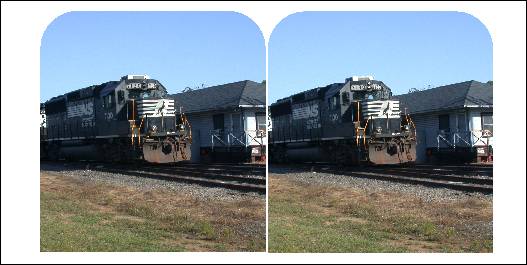
Cut out the images and glue them to a 7” x 3.5” piece of cardboard. Make sure the LEFT image is on the left, and the RIGHT image is on the right. The resulting card will look like this:
I've discovered that my Iphone has a setting that will take square images. Given the individual images on the cards are square, this seems like a simpler method of taking the images with the added benefit that I'll actually be seeing what I'll be getting and won't have to crop out the sides. I just need to find an adapter to mount the Iphone to a tripod. I'm also planning on printing the images already aligned onto an 8" x 10" photo. This will mean less cutting when creating the card, plus an overall savings because I should be able to get three sets of images on a single 8" x 10" photo. I'm still going to use Microsoft Photo Editor, which will limit my resolution a bit. Given Microsoft Photo Editor can't handle the image size from my Iphone, I'll have to resize it to fit.
Step 1:
Create a new file in Microsoft Photo Editor: 72 DPI, 2400 pixel width, 3000 pixel height. This will correspond to an 8" x 10" photo.
Step 2:
Take the square images from the Iphone and resize them to 900 pixels x 900 pixels. Set the left and right upper corners to crop at 2, round shape, to give the image the shape of the old style photos.
Step 3:
Paste the LEFT and RIGHT images onto the new file image previously created, and align them properly. With the 10" height, you should be able to get three sets (rows) of images per sheet. I'd center them on the page as much as possible in case Walmart photo printing crops it a bit from the edges.
Step 4:
Send off the image/sheet to be printed at Walmart on an 8" x 10" photo.
Step 4:
Cut out the images and glue them to a 7” x 3.5” piece of cardboard.
Other
Method of 3D Viewing
To use the cross-eyed technique, focus on the double image and slowly start to cross your eyes until you form an image in the middle (i.e. there are now three images). If you have four images, you've either crossed your eyes too much, or too less. NOTE: If it takes a lot of strain to cross your eyes this much, move further away from the monitor. Now concentrate on holding and focusing on that center image. That center image should appear in 3D.
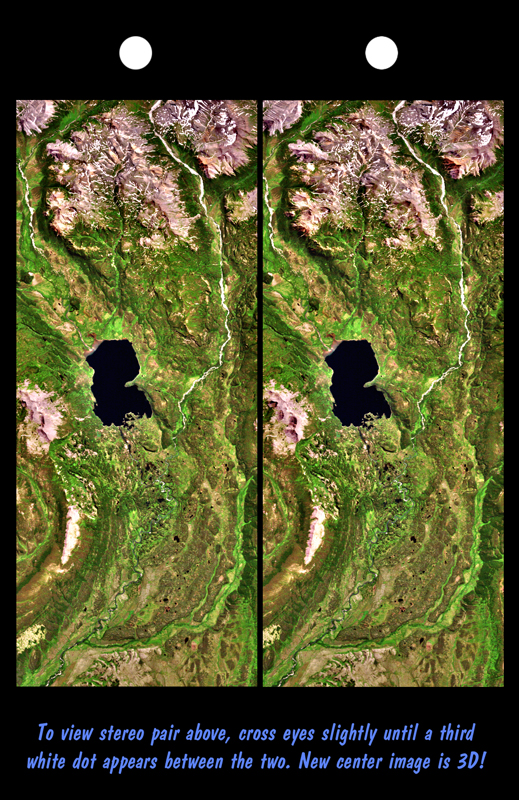
Here’s a satellite image from NASA to practice on. They have put a white dot at the top of each image to help you. Cross your eyes slightly to form a third dot between the two actual dots. When you do, the center image should be in 3D:
My Own Cross-Eyed Technique Stereographs
When creating my stereograph cards for my stereoscope, I first create cross-eyed viewing images on the computer so I can see how the image will look. These are the full images that have not been cropped down to the basic square shape. Cross your eyes on each of these to form a third image in the middle.
NOTE: I've got these scaled down in the web browser to be 850 pixels wide. They are actually a little larger. If the smaller scale is causing too much distortion for you, you can copy and paste the images into another image viewer to see them at full resolution.
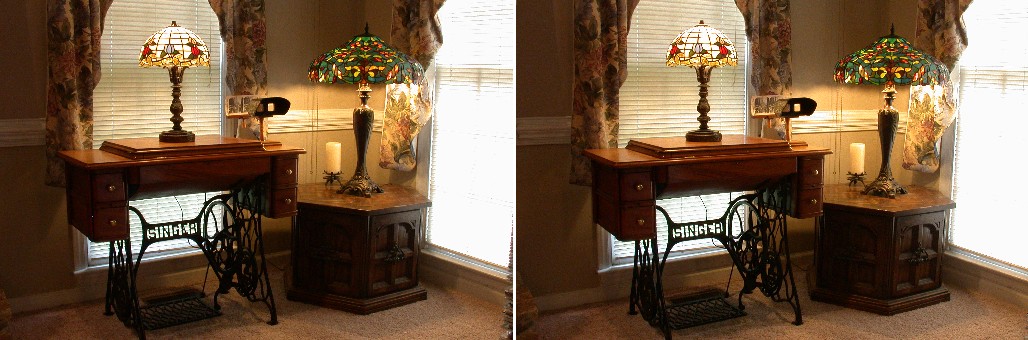
Antique Singer sewing machine we picked up at an auction.
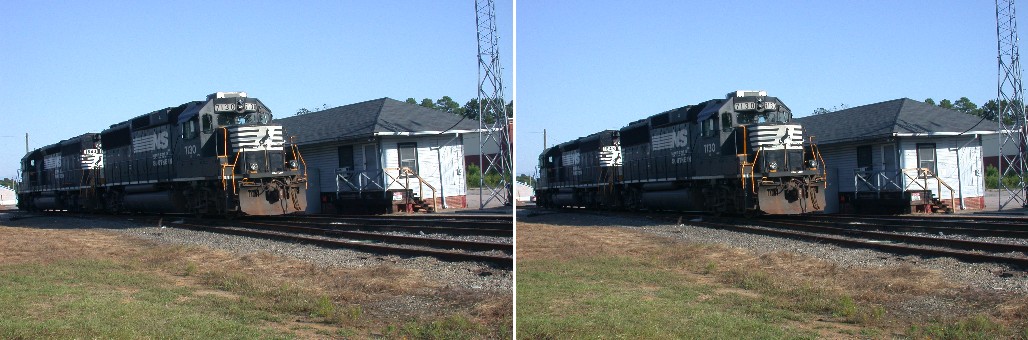
Norfolk & Southern locomotives sitting at the depot in Fuquay-Varina, NC. Summer 2009.
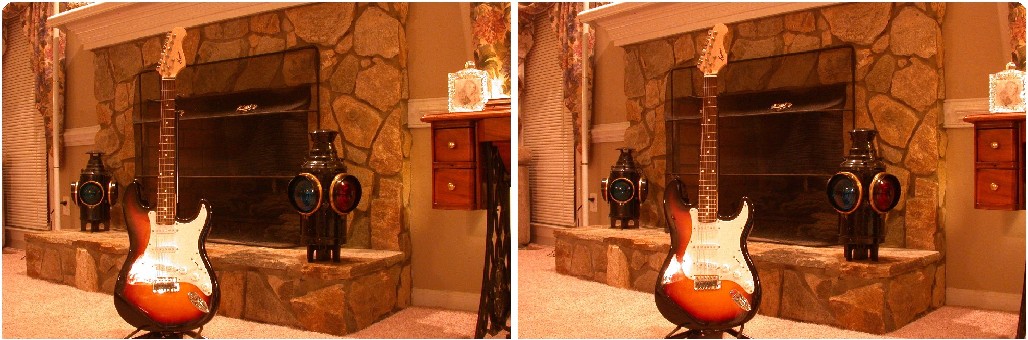
Son's guitar in front of the fireplace.
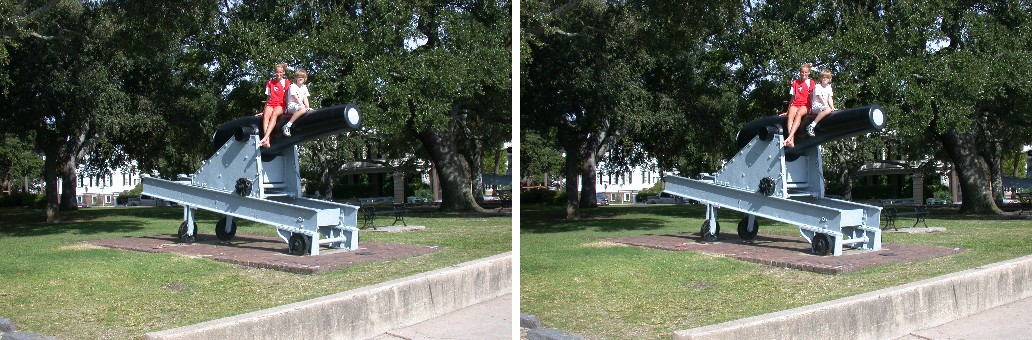
Kids sitting on a canon in Battery Park, Charleston, SC. Oct. 4, 2009. Because I have to move the camera between shots, the kids had to sit very still. Freeze!
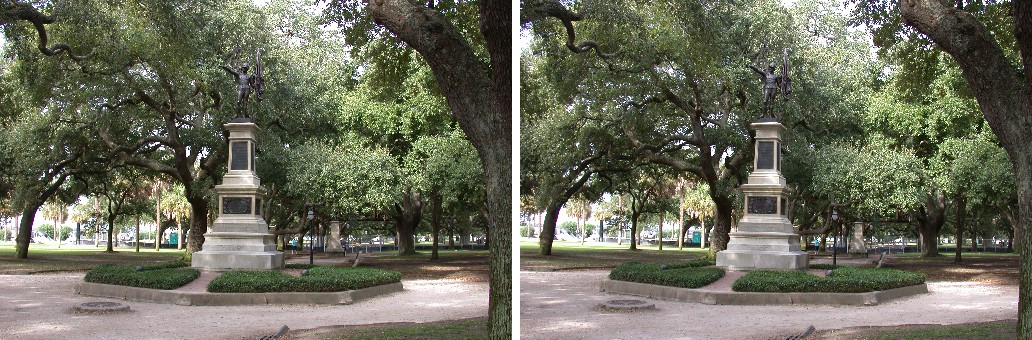
Statue in Battery Park, Charleston, SC. Oct. 4, 2009.
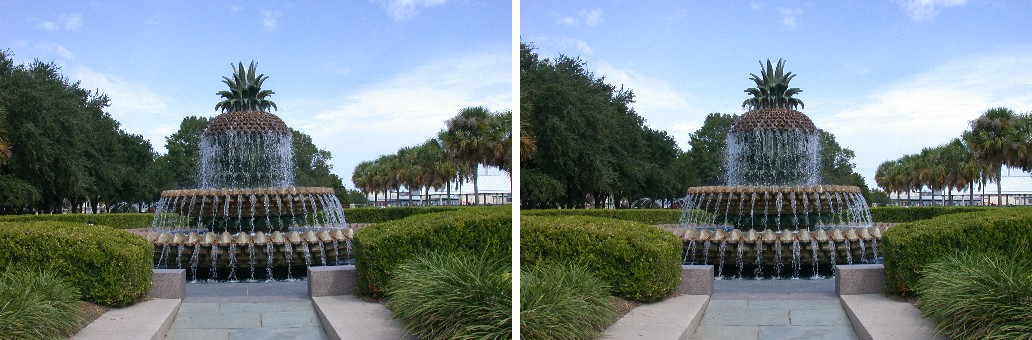
Pineapple Fountain in a waterfront park, Charleston, SC. Oct. 4, 2009. Because I have to move the camera between shots, the water is blurry and "ghosted".
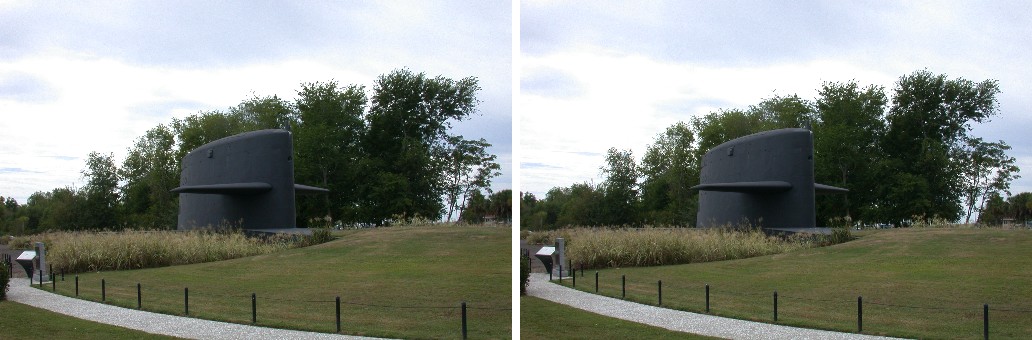
Monument made to the warriors of the cold war, Patriots Point Park, Mt. Pleasant, SC. The monument is made from the sail of the submarine Lewis & Clark, which I spent a week on during the mid 1980s. I vividly remember being on watch with the officer of the deck one night, was we glided slightly through the dark Atlantic ocean. It was a perfectly clear night and I was giving him a brief lesson in visual astronomy.
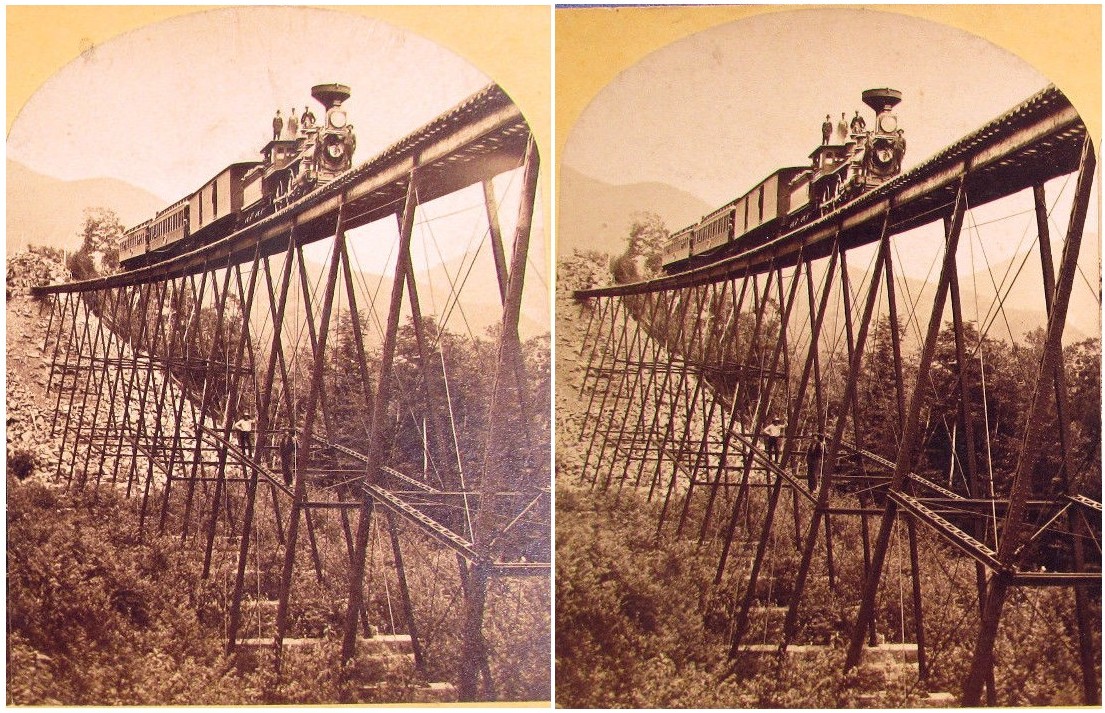
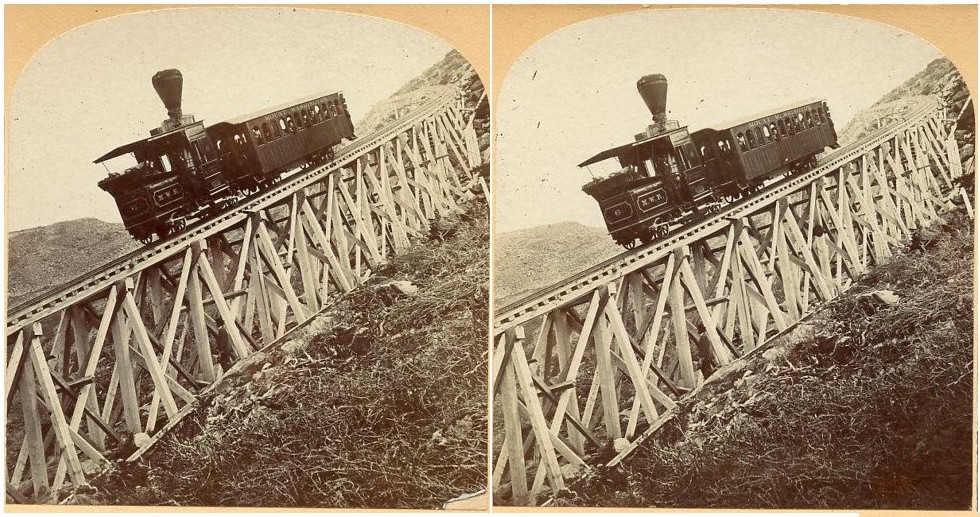
Cross-Eyed Technique Stereographs from Old Stereograph Cards
This are some cross-eye view stereograph images that I made from old stereograph cards. I basically copied the old images, and switched the left and right views.
Creating Cross-Eye Viewing Images for my Webpage
Images from my camera (Nikon 995) are: 6.83” x 4.53” (width x height)
Step 1:
Create a blank image: 13.76” x 4.53” (width x height), 300dpi, true color.
Step 2:
Copy and paste the image for the left eye onto the blank image, and move it to the far right of the image.
Step 3:
Copy and paste the image for the right eye onto the image, and move it to the far left (i.e. actually defaults to this side so you shouldn’t have to move it).
Step 4:
Resize the image by reducing it to 25%.
The resulting image size is: 3.44” x 1.13” (width x height), at 300dpi. This gives an image that is 1032 x 340 pixels in size.
Step 5:
Save the image and insert it as a picture from a file into the webpage.
Step 6:
Change the properties of the image to display at 800 pixels wide. This way it will fit on most screens, but if people want to see it at full resolution they can copy and paste them into another image viewer.
EDIT: I'll probably be using my Iphone for future images so will have to change these instructions a bit.
Links
http://astroanarchy.zenfolio.com/f359296072 Way cool 3D images created from 2D astronomy images.
https://www.londonstereo.com/diableries/index.html The Les Diableries section of The London Stereoscopic Company. While researching the lead guitarist from the band QUEEN, Brian May, I discovered that one of his passionate hobbies is stereoscopic photography and history. He's written books on the matter and invented his own viewer. The cards are very different from your normal 3D stereograph cards. While seen in monochrome colors in natural light, if you backlit them you'd see them in color, with skeletons that had red glowing eyes, lit candles and such, etc. Follow the link for more information. Here's another link on the subject: http://www.weirdhistorian.com/a-jaunt-through-hell-in-3d-with-les-diableries/